In today’s increasingly virtual world, your webcam has become nearly as important as your physical presence. Whether you’re participating in a business meeting on Zoom or catching up with friends on Google Meet, how you appear on camera speaks volumes. Quality video not only makes communication more effective but can significantly enhance your credibility and professionalism. With just a few key webcam settings, you can improve your image quality dramatically—even without expensive gear.
Why Webcam Settings Matter
Your default webcam settings are rarely optimized for the best visual output. Even high-end webcams can deliver poor results if not properly configured. Adjusting your webcam settings improves:
- Clarity – Eliminates blurriness and enhances detail
- Lighting Adaptation – Ensures you’re visible in various lighting conditions
- Color Accuracy – Presents accurate skin tones and accurate colors
- Framing and Exposure – Keeps you centered and well-lit
Essential Webcam Settings to Adjust
Whether you’re using Zoom, Google Meet, or any similar platform, the following settings will have the most impact on your webcam quality:
1. Resolution and Frame Rate
Start by selecting the highest resolution available in your webcam settings menu. Most modern cameras support at least 720p, while better models go up to 1080p or 4K. A higher resolution provides a crisp, detailed image.
Frame rate determines how smooth your video appears. Aim for at least 30 frames per second (fps). If your system supports it and your internet connection is stable, 60 fps offers a highly fluid video stream.
2. Exposure
Exposure controls how much light the camera captures. Automatic exposure often overexposes the background if it’s brighter than your face. Switch to manual and decrease exposure slightly so your face is clearly visible without washing out.
3. White Balance
White balance corrects color tints based on your lighting. Fluorescent, daylight, and LED lights can all affect this. Auto-white balance can be inconsistent, so manually set it to ensure your skin looks natural regardless of the environment.
4. Brightness and Contrast
These directly affect how visible and dynamic your image appears. Increase brightness slightly to illuminate your face, but avoid making it look flat. Adjust contrast to add depth between light and shadow areas, creating a more three-dimensional appearance.
5. Focus
If your webcam supports manual focus, use it to ensure your image is sharp. Auto-focus frequently shifts or gets stuck, especially if you move or gesture. Proper focus sharpens your presence and keeps distractions to a minimum.
6. Zoom, Pan, and Tilt
Take control of your composition by cropping in using digital zoom or adjusting pan/tilt settings. Keeping yourself centered with just the right distance from the camera reinforces engagement and professionalism.
Best Practices for Setting Up Your Webcam
Technical settings are only one part of the equation. How and where you set up your camera also plays a central role. Follow these best practices to get the most out of your webcam:
- Position the camera at eye level – This creates a natural line of sight and avoids awkward angles.
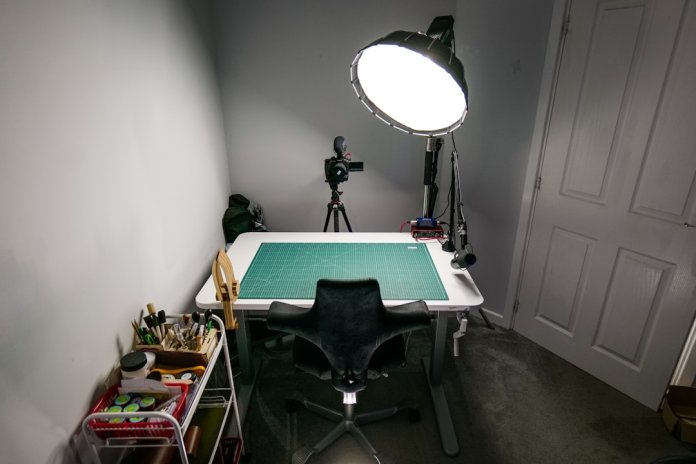
- Use soft, diffused lighting – Preferably 3-point lighting: key, fill, and back light. If not possible, face a window or use a ring light.
- Keep your background simple and professional – Tidy surroundings enhance focus on you and minimize distractions.
- Do a trial run – Use your camera app or video preview to adjust settings before going live. Platforms like Zoom have a test meeting function you can utilize.

Advanced Configuration Tips
If you’re using external webcam software (like Logitech Capture, OBS, or Ecamm Live), you gain access to enhanced controls unavailable in built-in settings. With these tools, you can fine-tune webcam behavior and even apply filters or virtual backgrounds.
Custom Presets
Create different profiles for various scenarios—one for bright daylight, another for dimly lit rooms. This allows quick switching without resetting each time.
Noise Reduction and Sharpening
Some webcams allow toggling noise reduction or enhance image sharpness. Use these carefully. Too much sharpening or smoothing can degrade realness and introduce artifacts.
Zoom and Google Meet-Specific Tips
Zoom
- Enable HD in Zoom’s Video settings. This ensures you’re broadcasting at the best resolution your camera supports.
- Disable “Touch up my appearance” for most contexts. While tempting, heavy use of filters can look unnatural.
- Use “Adjust for low light” only when necessary. It can introduce noise or slow your frame rate.
Google Meet
- Select the right camera under “Settings” in Meet—especially if you use multiple webcams or a virtual camera tool.
- Avoid browser conflicts. Only one program can access your webcam at a time, so close other video apps when using Google Meet.
- Use Chrome for best performance, as Meet is optimized for Google’s browser.

Hardware Considerations
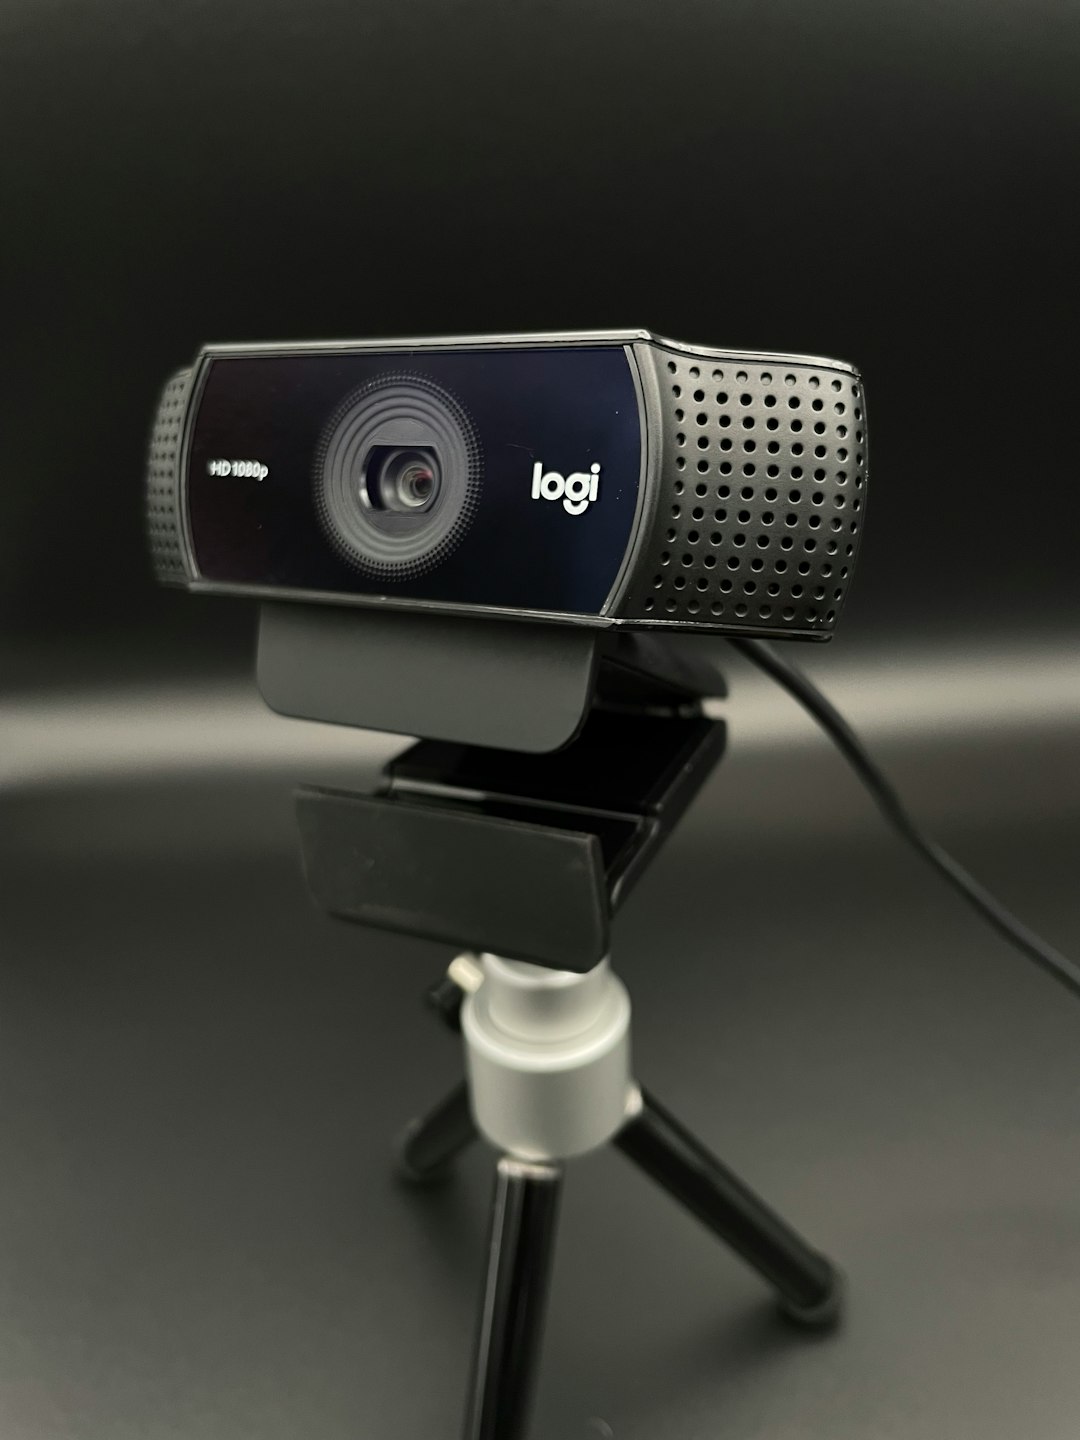
No setting can fully compensate for poor hardware. While built-in laptop webcams offer convenience, most are limited in quality. If video clarity is important to your work or communication, consider investing in an external webcam.
Look for these features when selecting a webcam:
- 1080p or higher resolution – Ensures sharp image
- Low-light correction – Adapts to less-than-ideal lighting conditions
- Wide dynamic range (WDR) – Helps in rooms with windows or mixed lighting
- Glass lens over plastic – Offers better clarity and durability
- Integrated mount or tripod support – Provides flexible positioning
Final Checklist Before Your Call
To ensure your setup runs smoothly during high-stakes calls or presentations, do a final check:
- Restart your webcam software and clear any accidental settings or background apps.
- Test your appearance in the video preview—make sure you’re well-lit, centered, and in focus.
- Close unnecessary programs to keep your CPU free for processing video smoothly.
- Mute notifications and disable pop-ups to keep distractions away while presenting.

Conclusion
Optimizing your webcam settings for Zoom or Google Meet enhances not just how you look, but how effectively you communicate. By ensuring clear, natural, and steady video, you strengthen connections, build trust, and improve meeting outcomes. While technical tweaks can’t replace genuine communication, they can ensure that your message is received as well as possible.
Take the time to make these adjustments. You’ll find that a few minutes of setup preparation can dramatically elevate your virtual presence—now and into the future.
