It is essential to reduce the size of your website’s pages to make it load faster. To make it possible we need to compress HTML, CSS, Java or we can say a full page of a website. The first thing that pops in my mind to reduce the size of the site is through GZIP compression. Enabling GZIP can reduce the time to access the web page as it reduces the usage of the data for the audience and improves the time to render your site.
Every kind of browser supports GZIP compression and automatically adjusts GZIP compression for each HTTP requests.
What is GZIP Compression?
GZIP compression is a software application and a file format which compresses files. GZIP compression can be activated through a server which will result in reducing the size of the HTML, CSS and JavaScript files.
It won’t work on pictures because they are compressed differently. It can compress up to 75% of file size, and this makes it one of the best optimizations for WordPress.
How to check if GZIP Compression is working?
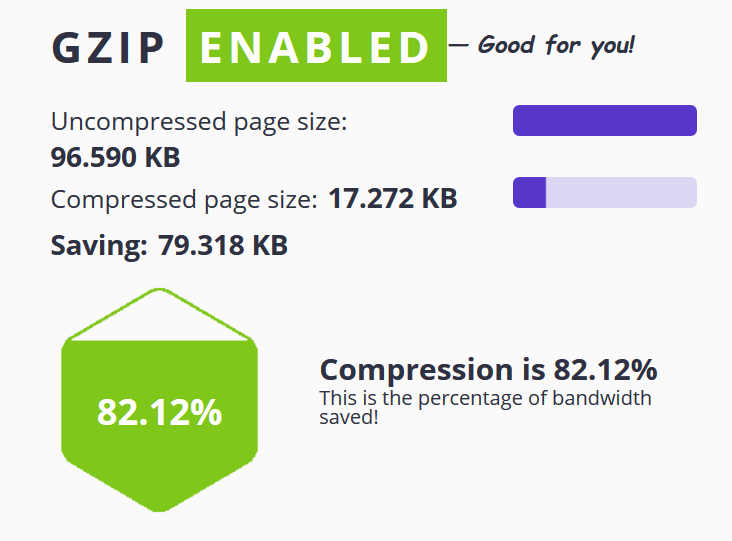
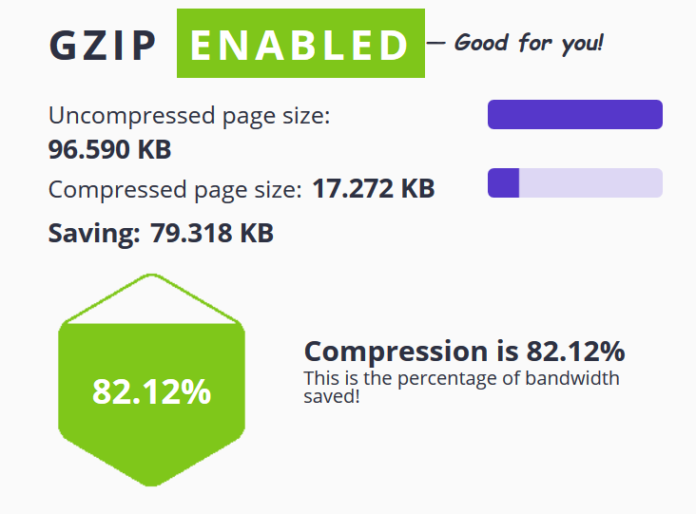
The simple method to check whether GZIP compression is working or not is through a free tool GZIP compression tool powered by SEO Suite.

It will also show you Uncompressed page size as well as compressed page size and how many per cents of bandwidth you are saving.
Now let’s share how to enable GZIP compression in WordPress
There are many ways to enable it.
-
Enable GZIP through WordPress Plugin
There are many WordPress plugins available online for free as well as paid. For my website, I use WP Rocket, but it’s a paid plugin.
WP Rocket offers lots of functions including GIZP. It costs $ 49 for 1 website, $99 for 3 websites and $ 249 for unlimited websites. Each plan includes one year of support and updates with 14 days of money back guarantee.
W3 Total Cache is another plugin which I recommend, and it’s free. W3 Total Cache comes with many functions which include GZIP compression.
-
Enable GZIP on Apache
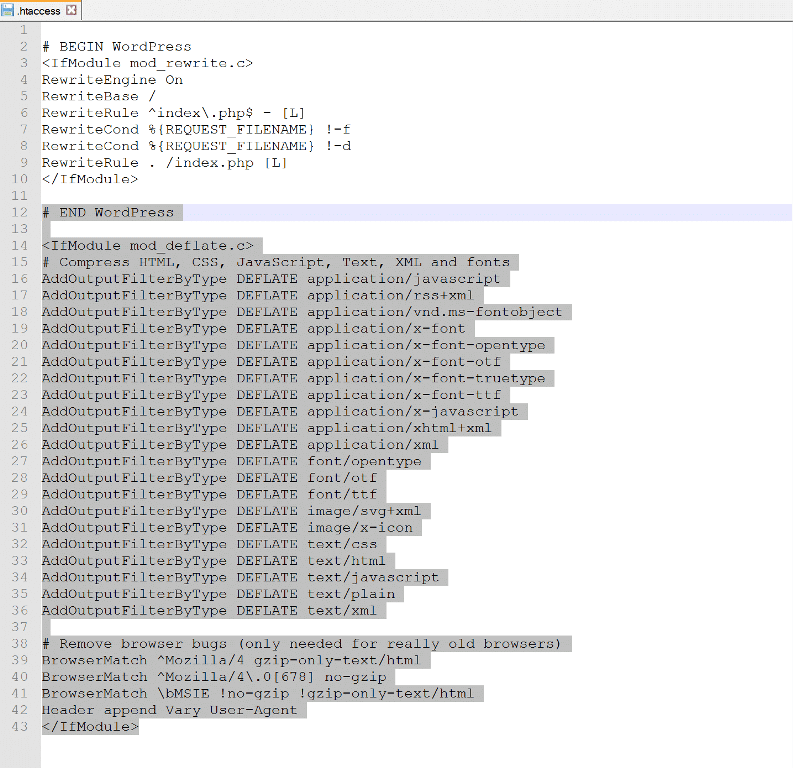
A second method is simple, but you need to do it by editing the .htaccess file to allow GZIP compression. Commonly shared host use Apache, where you need to add the code shown below .htaccess file. You can find your .htaccess file at the root of your WordPress site through cPanel or FTP.
<IfModule mod_deflate.c>
# Compress HTML, CSS, JavaScript, Text, XML and fonts
AddOutputFilterByType DEFLATE application/javascript
AddOutputFilterByType DEFLATE application/rss+xml
AddOutputFilterByType DEFLATE application/vnd.ms-fontobject
AddOutputFilterByType DEFLATE application/x-font
AddOutputFilterByType DEFLATE application/x-font-opentype
AddOutputFilterByType DEFLATE application/x-font-otf
AddOutputFilterByType DEFLATE application/x-font-truetype
AddOutputFilterByType DEFLATE application/x-font-ttf
AddOutputFilterByType DEFLATE application/x-javascript
AddOutputFilterByType DEFLATE application/xhtml+xml
AddOutputFilterByType DEFLATE application/xml
AddOutputFilterByType DEFLATE font/opentype
AddOutputFilterByType DEFLATE font/otf
AddOutputFilterByType DEFLATE font/ttf
AddOutputFilterByType DEFLATE image/svg+xml
AddOutputFilterByType DEFLATE image/x-icon
AddOutputFilterByType DEFLATE text/css
AddOutputFilterByType DEFLATE text/html
AddOutputFilterByType DEFLATE text/javascript
AddOutputFilterByType DEFLATE text/plain
AddOutputFilterByType DEFLATE text/xml

# Remove browser bugs (only needed for really old browsers)
BrowserMatch ^Mozilla/4 gzip-only-text/html
BrowserMatch ^Mozilla/4\.0[678] no-gzip
BrowserMatch \bMSIE !no-gzip !gzip-only-text/html
Header append Vary User-Agent
</IfModule>
You need to add the code in your .htaccess file like shown below.

-
Enable GZIP on NGINX
If you are operating on NGINX, then add the code shown below to your nginx.conf file.
gzip on; gzip_disable “MSIE [1-6]\.(?!.*SV1)”; gzip_vary on; gzip_types text/plain text/css text/javascript image/svg+xml image/x-icon application/javascript application/x-javascript;
So now, you have learned How To Enable GZIP Compression In WordPress. If you have any queries. Write in the comment section. I will be more than happy to answer them.
